Introduction
Welcome ! This page will help you get up and running with our system by walking you through the essential steps to set up your account, create your first AI Assistant, and integrate it into your platform
support.get_started.We are an AI-powered platform that enables businesses to create custom AI Agents, tailored to their specific data and requirements. By integrating your Ai Agent into your website or application, you can enhance customer support, generate leads, and engage users more effectively.
Key Features:
- Customizable AI Assistants: Train using your own data sources, such as documents, websites, or databases, to ensure accurate and relevant responses.
- No-Code Integration: Easily embed AI assistants into your website or platform without the need for extensive coding knowledge.
- Advanced Analytics: Monitor assistant interactions to gain insights into user behavior and improve performance over time.
- Multi-Platform Support: Deploy assistants across various platforms.
- Lead Generation Tools: Collect and manage leads through assistant interactions, streamlining your sales and marketing efforts.
- By leveraging AI Assistants, businesses can provide 24/7 support, engage users in meaningful conversations, and automate routine tasks, leading to increased efficiency and customer satisfaction.
How can you use AI assistants?
Iframe:
By using this method, you can seamlessly embed the assistant across multiple pages by simply adding the iframe code to the desired locations. Once embedded, the assistant will remain visible and accessible on those specific pages, offering users a consistent and uninterrupted experience as they navigate through your site.
The iframe will be static, meaning the assistant will always be open and readily available for visitors on the pages where it’s been included. This ensures that users can engage with the assistant anytime without needing to interact with any additional pop-ups or triggers, enhancing usability and engagement.
Script:
Using the script method, you can add the assistant to your website by inserting a few lines of code into the desired pages ensuring a seamless integration with your website’s.
The assistant will be displayed as a floating widget on your website, allowing users to interact with it by clicking on the widget. This approach provides a more interactive and engaging experience for users, as they can choose when to engage with the assistant, rather than having it constantly visible on the page.
Link share:
By using the link share method, you can share the assistant’s URL with users via email, social media, or other channels. When users click on the link, they will be directed to the assistant, where they can interact with it in a separate window or tab. This method allows you to reach users who may not be visiting your website directly, enabling you to engage with a wider audience and provide support or information to users across different platforms.
Troubleshooting
If you encounter any issues while setting up your account or integrating your AI Assistant, please refer to the following troubleshooting tips to resolve common problems:
Account Setup:
- If you are having trouble creating an account, please ensure that you have entered all the required information correctly and that your email address is valid. If you are still unable to create an account, please contact our support team for assistance.
- If you are experiencing issues with logging in to your account, please check that you are using the correct email address and password. If you have forgotten your password, by visiting page 'Password Reset'.
AI Assistant Creation:
- If you are having trouble creating an AI Assistant, please ensure that you have selected the correct data sources and training options. If you are unsure about which settings to choose, you can refer to our documentation or contact our support team for guidance.
- If your AI Assistant is not responding to user queries or is providing inaccurate responses, please review the training data and make any necessary adjustments to improve the assistant’s performance.
Integration:
- If you are experiencing issues with integrating your AI Assistant into your website or platform, please ensure that you have followed the installation instructions correctly and that the assistant code is placed in the correct location also the AI assistant has working Api attached. If you are still encountering problems, please check the console for any error messages and contact our support team for assistance.
- If the assistant is not displaying correctly on your website or is not functioning as expected, please check the browser compatibility and ensure that the assistant code is compatible with your website’s design and layout. If you need further assistance, please reach out to our support team for help.
General:
- If you are experiencing any other issues that are not covered in the troubleshooting tips above, please contact our support team for assistance. Our team of experts will be happy to help you resolve any problems and ensure that your experience is smooth and successful.
Requirements
Account Setup:
To create an account, you will need a valid email address and password. You can sign up for an account by visiting our 'Sign Up' page and following the registration process.
Once your account is created, you can 'Login' to access your dashboard and begin setting up your AI Assistant.
Api:
For your AI Assistants to work properly, you will need to set up your Open AI API keys.
The API key is a unique identifier that allows your AI Assistant to communicate with the platform and access the necessary data sources and training options.
You can get your API keys here
Open AI
and add them here
AI Assistant Creation:
For your AI Assistants to work they need Open Ai API key attached.
You will need to select Name, Prompt , Temperature, Top P and model for your assistant (you can change them at anytime). For your assistant to work properly for your need you may have to change the prompt and the model. You can test it in our Playground.
Once your AI Assistant is created, you can customize its appearance, behavior, and functionality to meet your specific needs and brand.
Integration:
To integrate your AI Assistant into your website or platform, you will need to add the iframe or script code to your desired pages.
You can choose from various integration methods, such as iframe, script, or link share, to embed the assistant into your site and provide users with a seamless and engaging experience.
Once integrated, you can monitor the assistant’s performance and make any necessary adjustments to improve its functionality and user engagement.
We also have chat history for your Assistants interactions that you can export for different data analysis.
Setup
AI Assistant Creation
After logging in you can create an AI assistant by clicking on the 'Create Assistant' in your dashboard (homepage).

You will be asked to provide a name, prompt, temperature, top p and model.
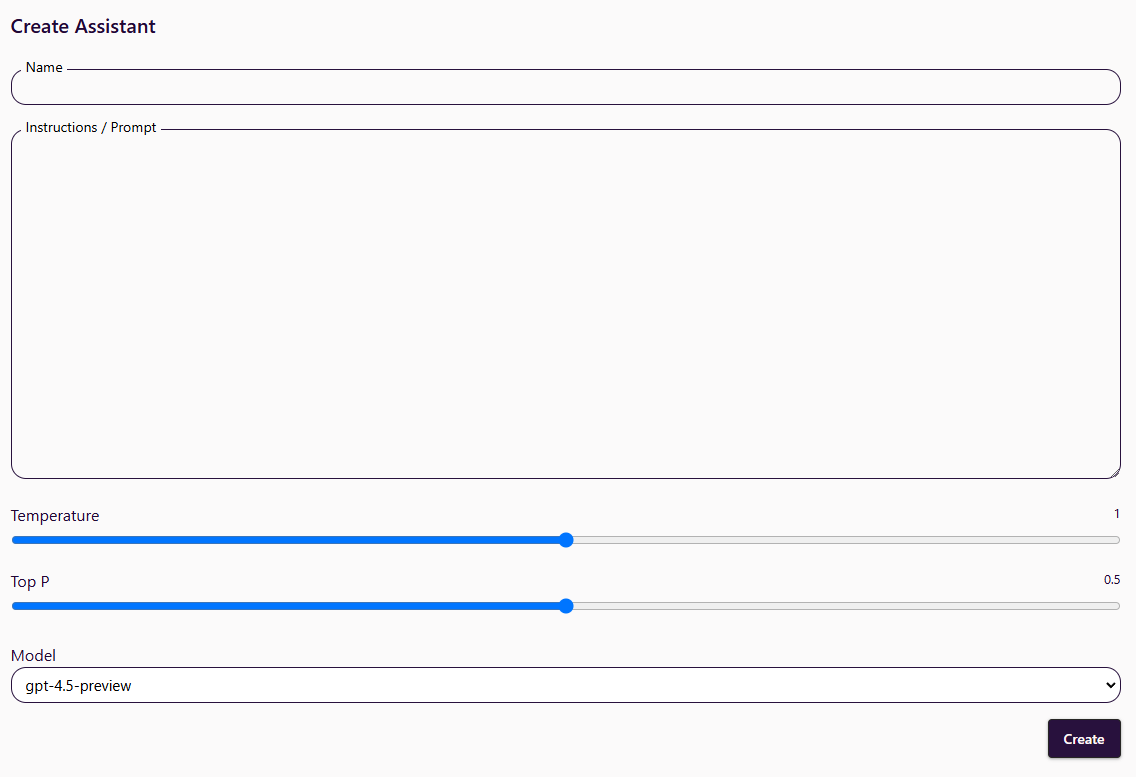 More about all the properties you can read in section 'Settings'
After creating the AI Assistant, you will be redirected to the assistant's dashboard.
You can now start tweaking the AI Assistant settings, connect it to your website, check its activity history, train it to your data and check its analytics.
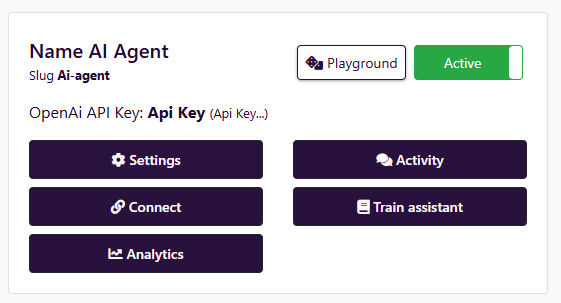
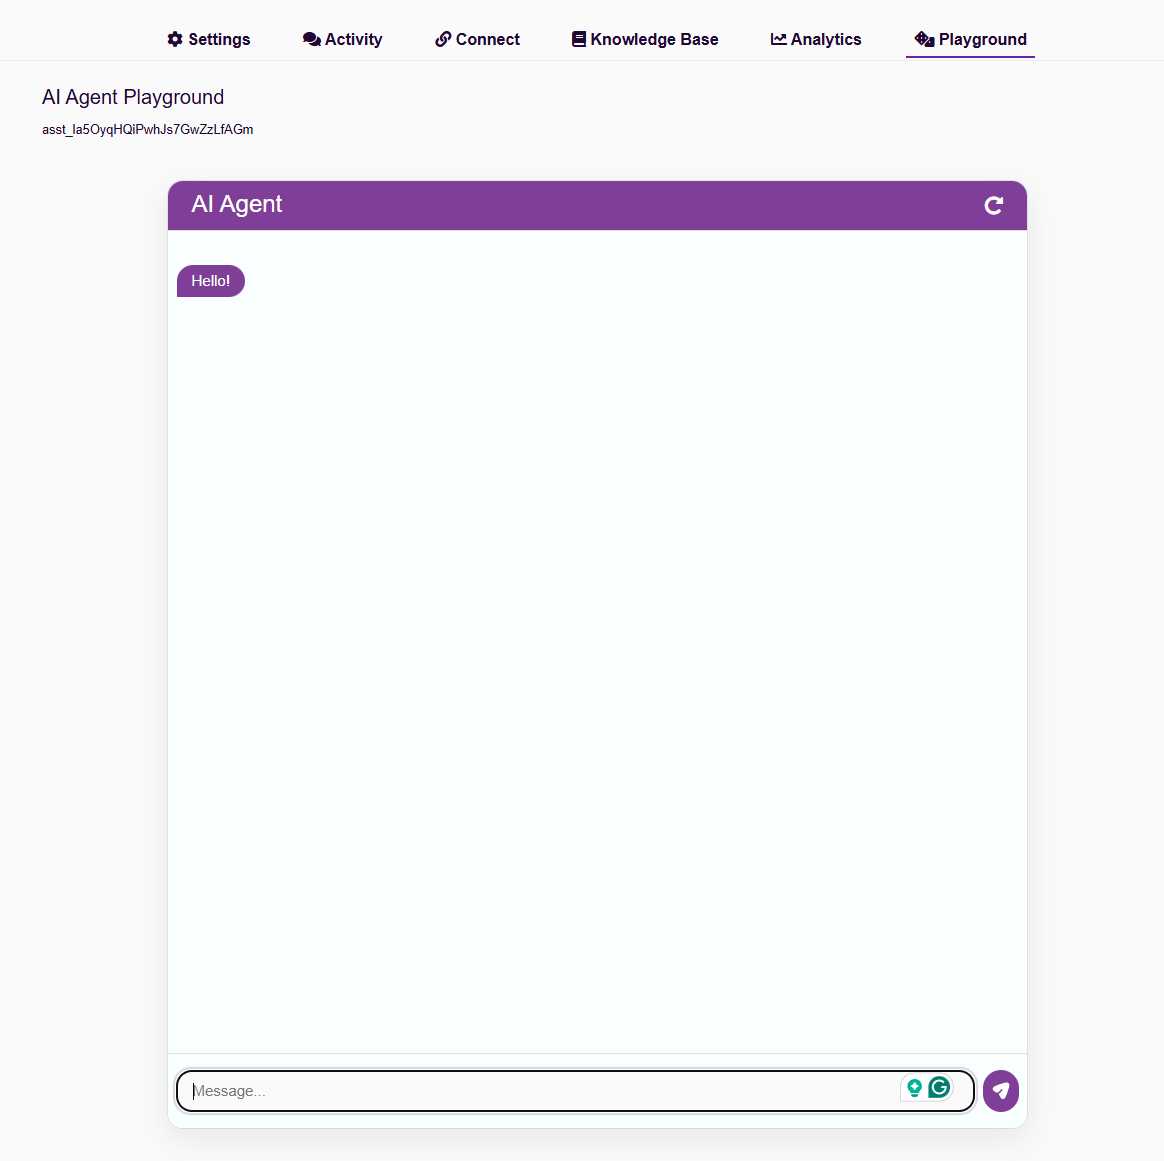
You can test your AI Assistant by clicking on the 'Playground' button in the top right corner of the assistant options.
Api
Setup API Key
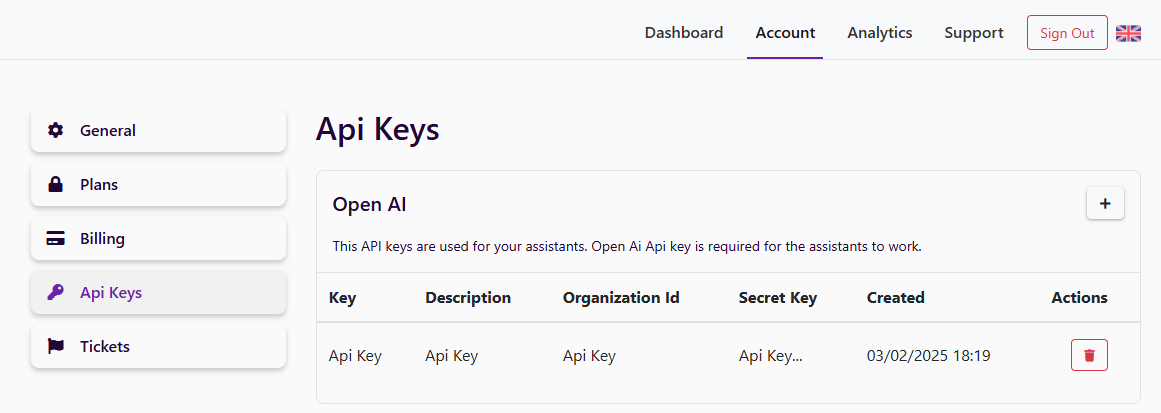
First you need to create an API key. You can do this in your Account tab and then 'Api Keys' section.
You can get your Open Ai API key from the Open Ai website.
here
After creating the API key, you will be able to see it in the list of your API keys when you are in your assistant general settings.
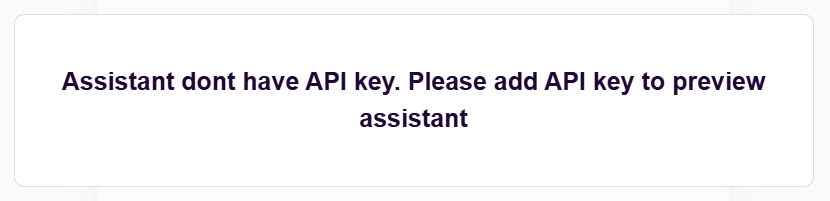
If assistant is not connected to API key you will see this red warning in Assistant options in your dashboard.
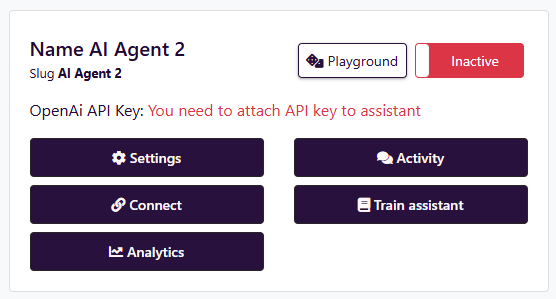
Few functionalities require API key to be attached to the assistant.
Settings
General Settings
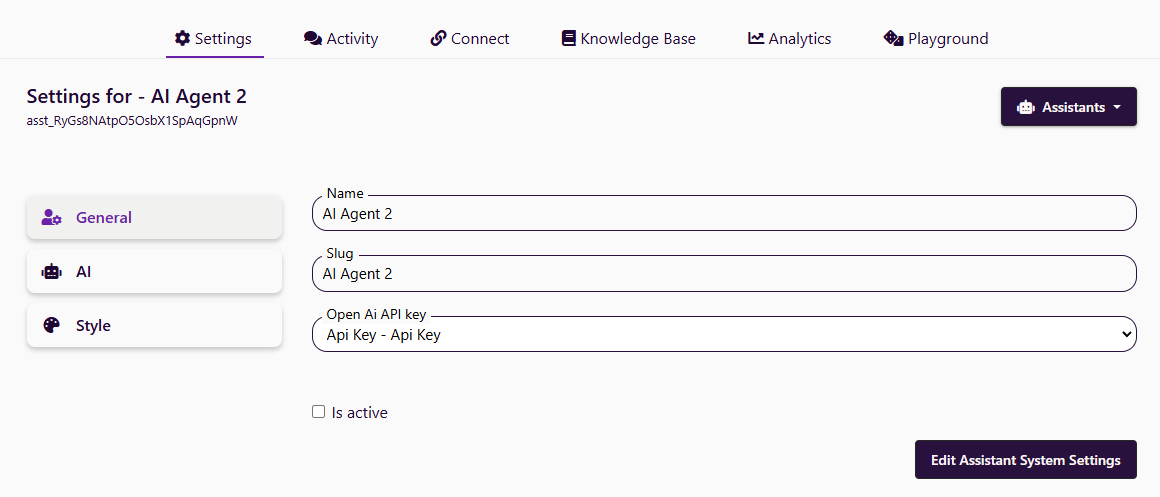
In the general settings you can change the name of the AI Assistant, Slug, Open AI API key and if it is active.
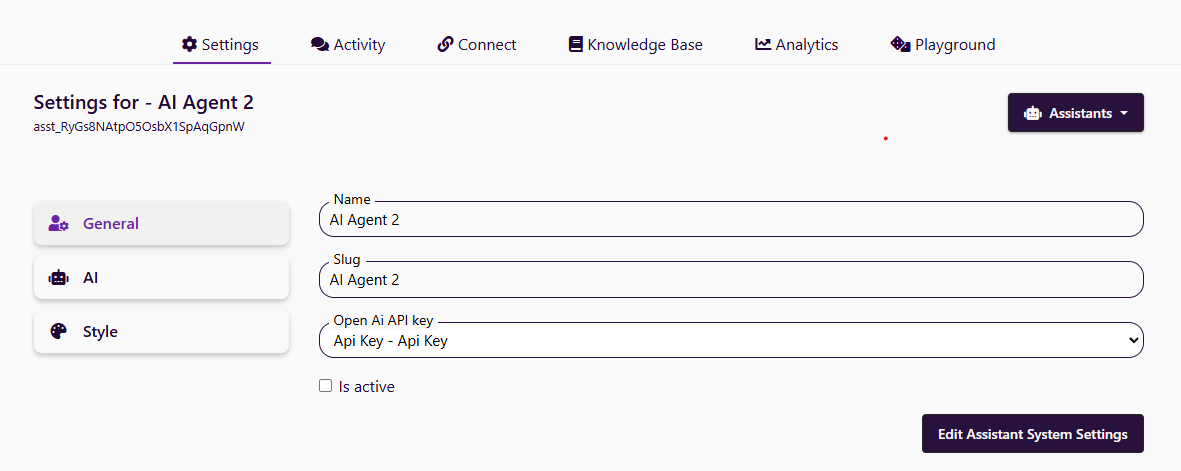
Name is used to identify the AI Assistant.
Slug is a unique identifier of the AI Assistant used for the different functionalities.
Open AI API key is used to connect the AI Assistant to the Open AI API.
Is active is setting used for different functionalities. If assistant is active you can connect it outside the platform and will answer user queries.
AI Settings
In the AI settings you can change the Open AI settings like name, prompt, model, temperature and top p
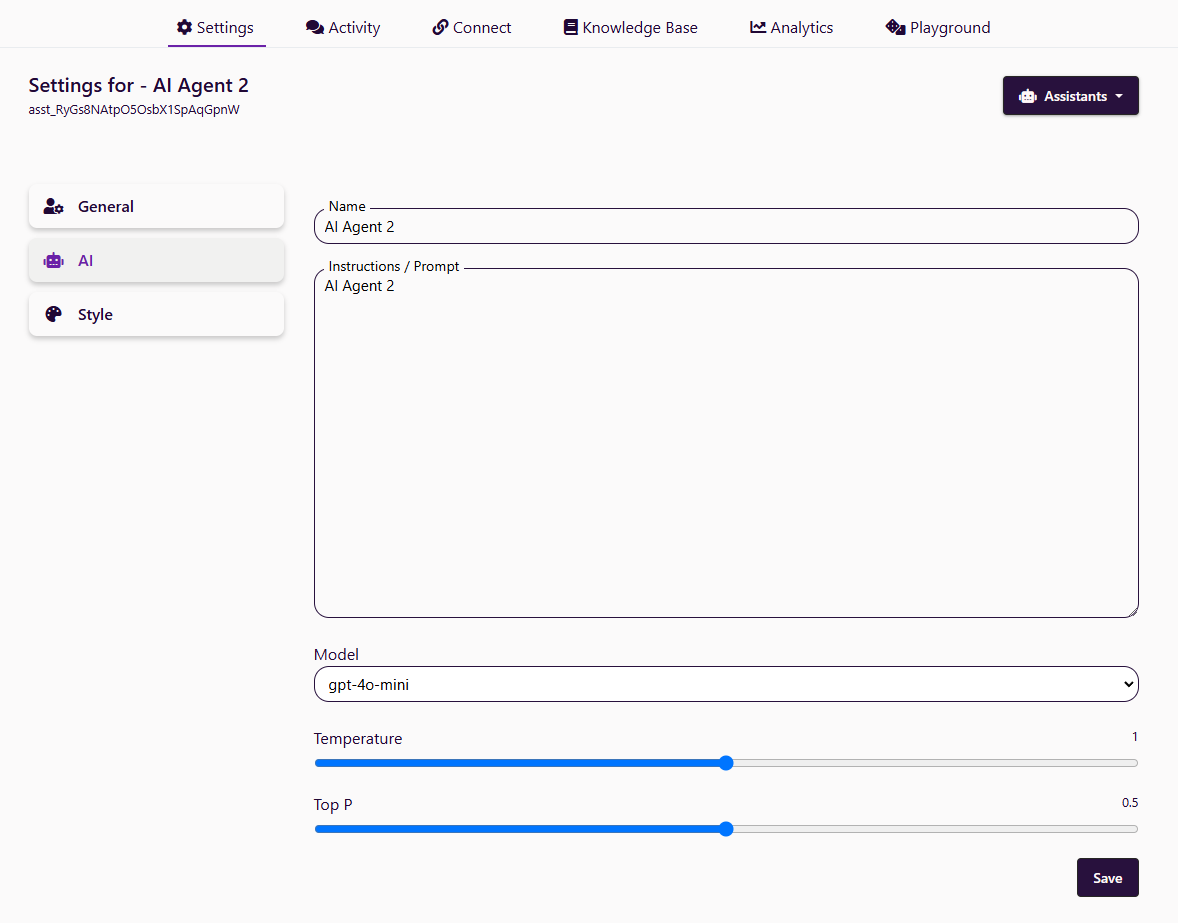
Name is the name of the AI Assistant.
Prompt are the instructions that are passed to the assistant of what job it will do.
Model is the setting that determines the capabilities of the assistant and the pricing. You can read more about the models here.
Temperature affects the computation of token probabilities when generating output through the large language model. The temperature value ranges from 0 to 2, with lower values indicating greater determinism and higher values indicating more randomness. You can read more here.
Top P is an alternative to sampling with temperature, called nucleus sampling, where the model considers the results of the tokens with top_p probability mass. With values from 0.01 to 1 . So 0.1 means only the tokens comprising the top 10% probability mass are considered. We generally recommend altering this or temperature but not both.
Style Settings
In the style settings you can change color, user messages color, starting message, placeholder.
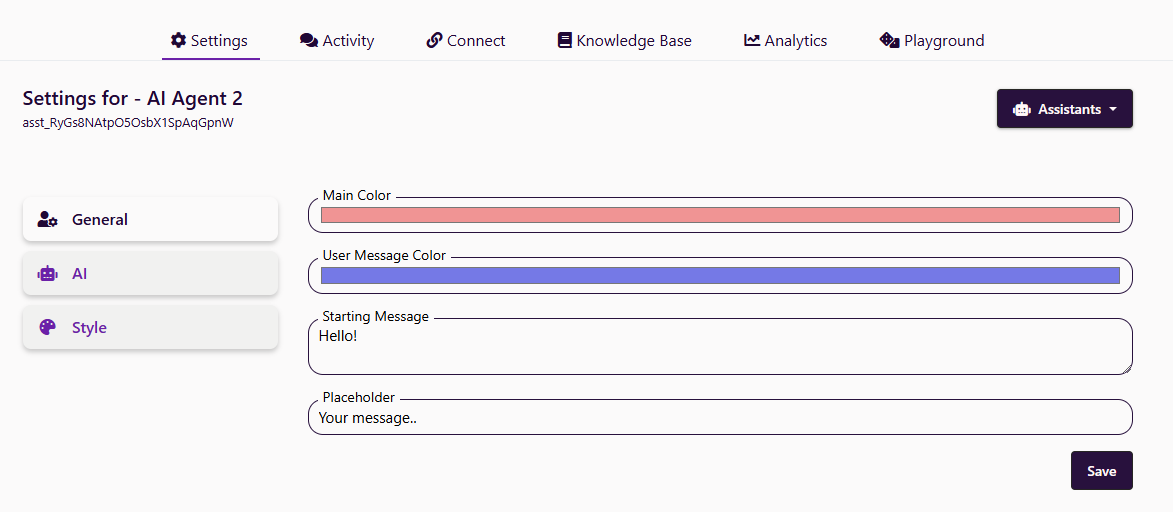
Color setting is the main color of your assistant.
User messages color determines the color of the user messages in the chat window.
Starting message is the message that is displayed when the AI Assistant is started. It is used to inform the user that the AI Assistant is ready to respond to the user's queries.
Placeholder is displayed in the input field.
Chats
In the Activity tab you can see the history of the AI Assistant's. You can see the user's queries and the AI Assistant's responses. You can also see the time when the user's query was received and the time when the AI Assistant's response was generated.
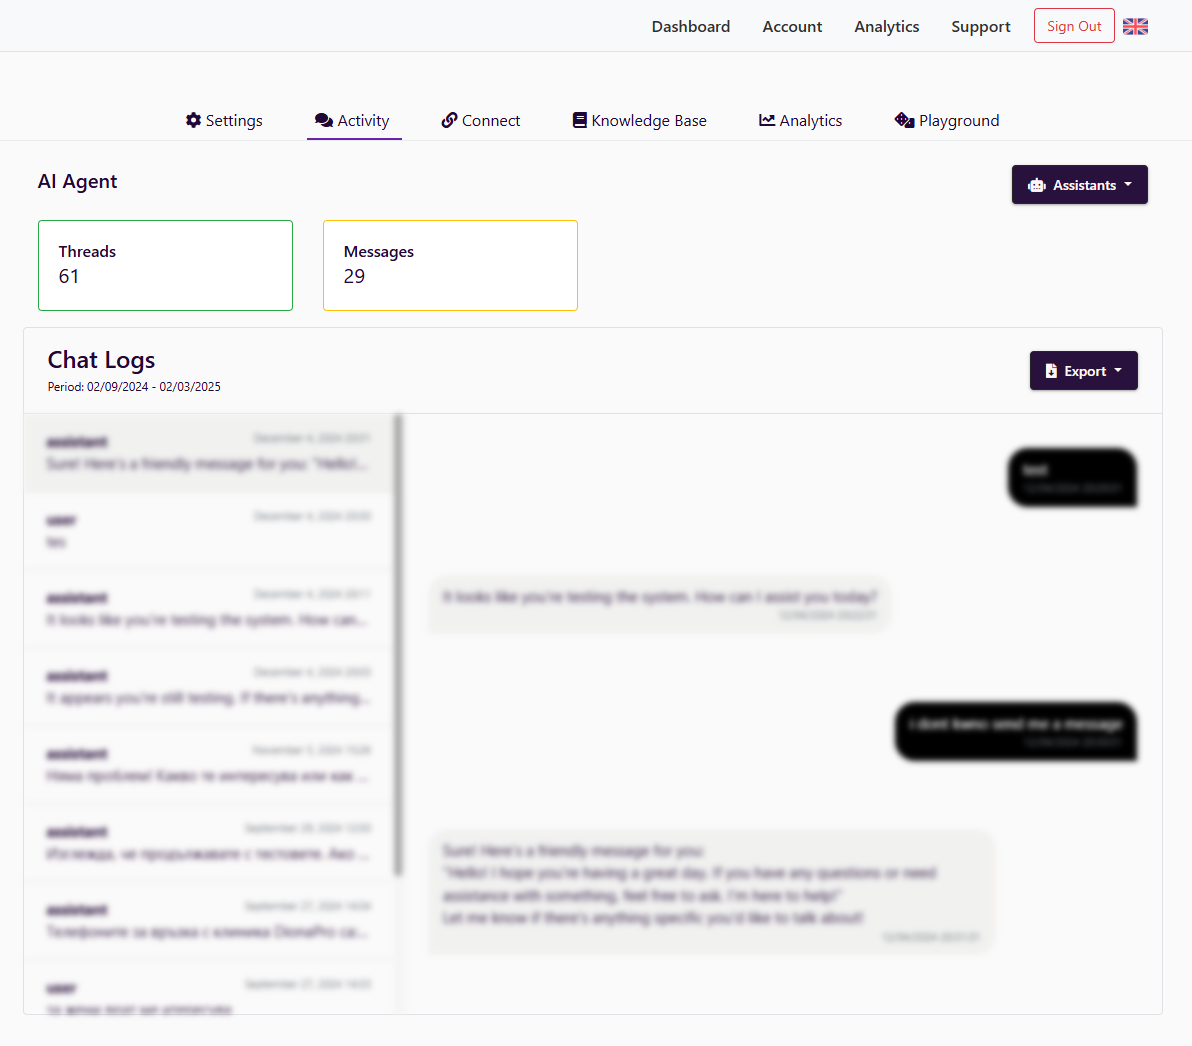
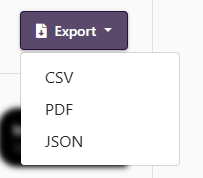
You can export the activity history by clicking on the 'Export' button.
The activity can be exported in JSON, PDF or CSV format.
Connect
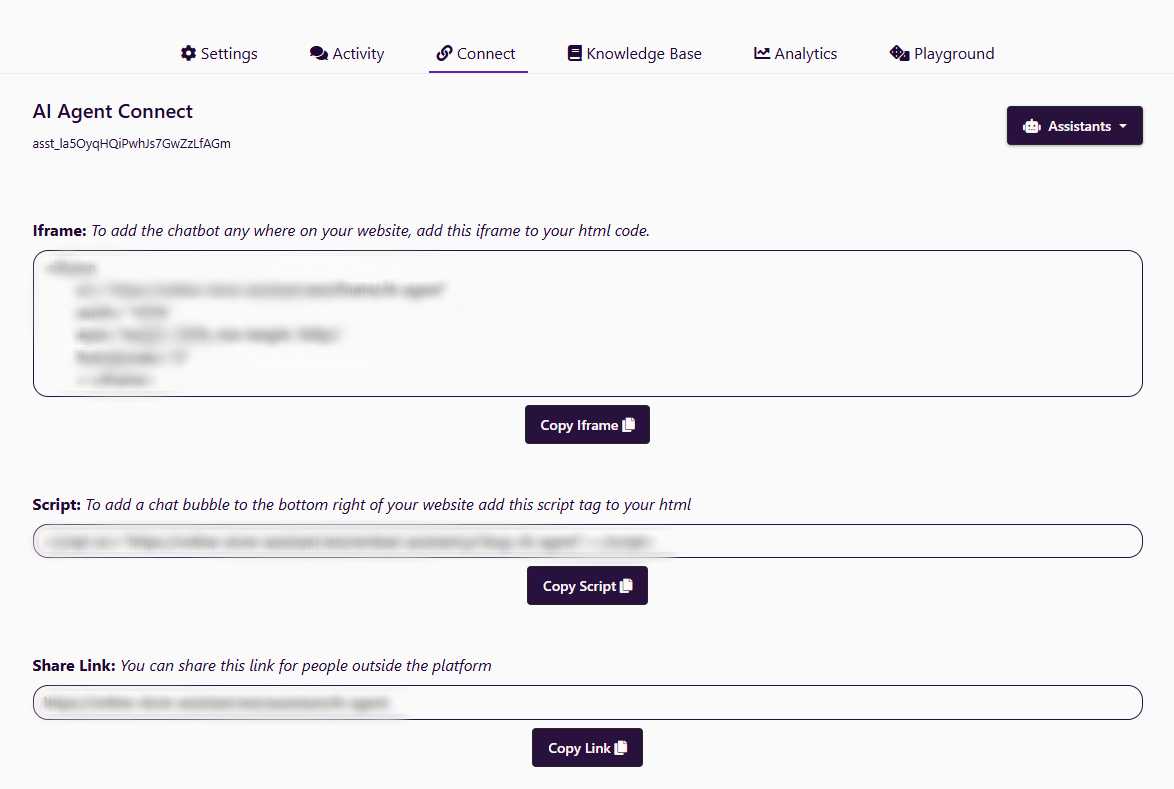
Iframe
You can import the AI Assistant to your website by using the iframe code. You can get the iframe code in assistant section 'Connect'.
Script
You can import the chat bubble that open the AI Assistant with the script code. The script code can be found in the assistant section 'Connect'.
Share Link
You can provide also link's of the AI assistant for people to use outside the platform and your systems. The link is also found in the assistant section 'Connect'.
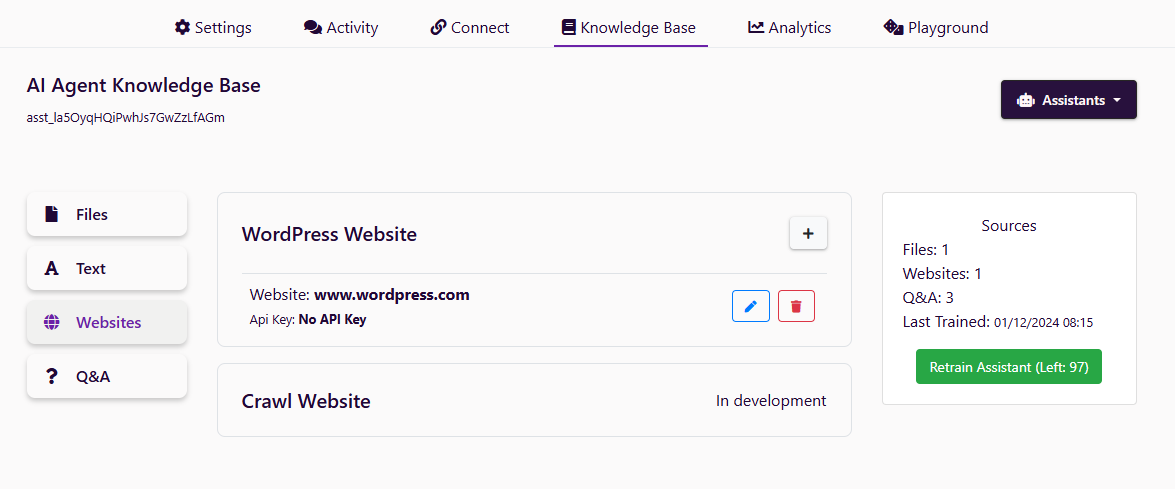
Knowledge Base
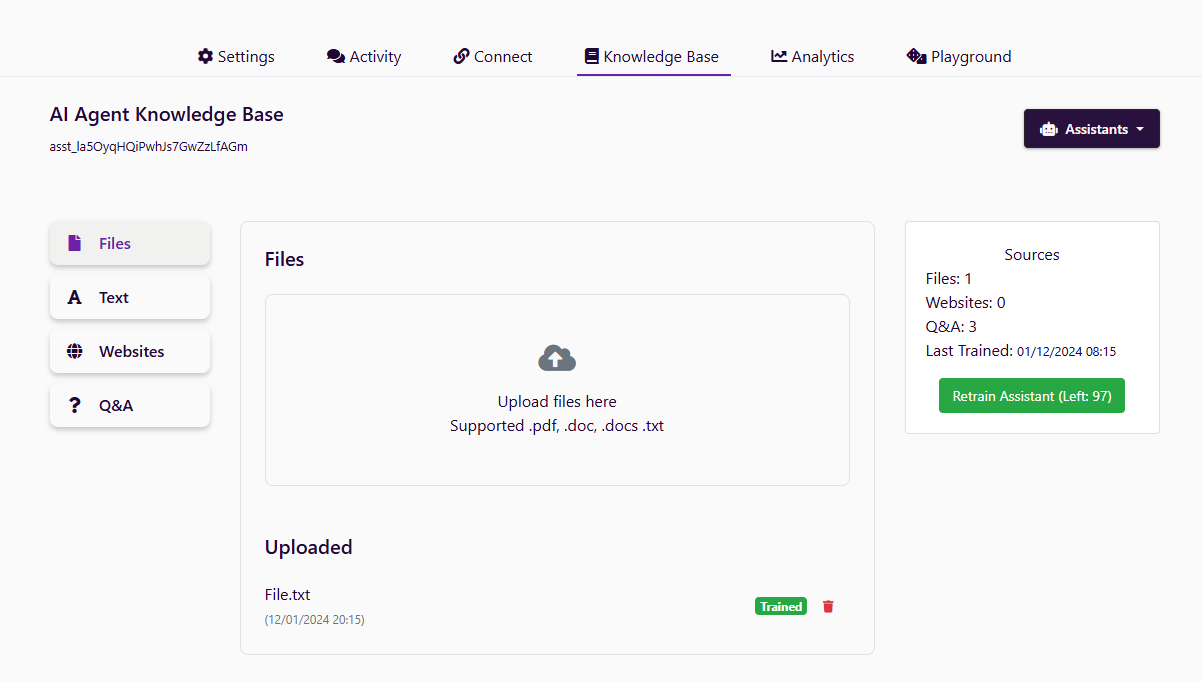
In the Knowledge Base tab you can train your assistant on your data. You can add files, text, websites or questions and answers. In section 'Sources' you can see the last date of training and the number of files, text, websites and questions and answers. From this section you start the train process.
Files
You can add files to the Knowledge Base in the Files section. The supported formats are: .pdf, .doc, .docs, .txt. The number of files you can upload are based on your plan.
The uploaded files will appear bellow in section 'Uploaded' there you can see the file name and date of upload, also you can see if the assistant is trained on the file, or you can remove it from the Knowledge Base.
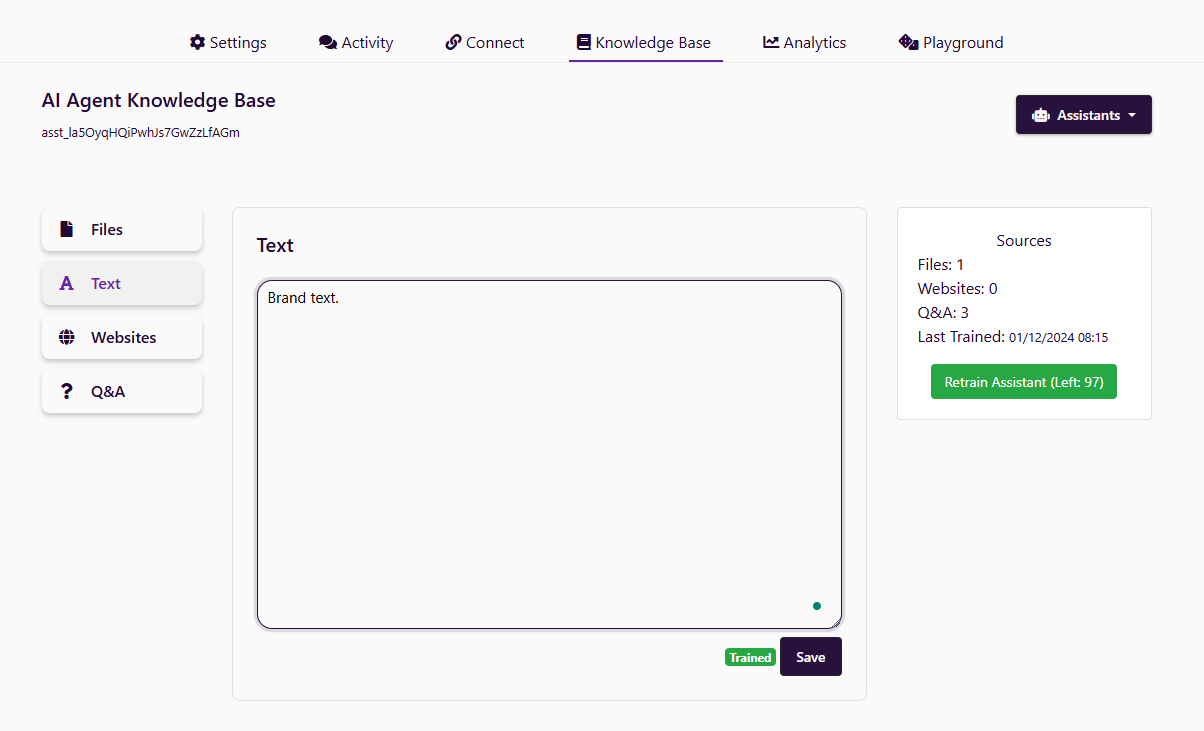
Text
You can add text to the Knowledge Base in the Text section. The text length you can add is based on your plan.
Websites
You can add websites to the Knowledge Base in the Websites section. You can add WordPress website that will be scraped with your data. You can add website's that will be crawled (in development).
The number of websites you can add are based on your plan.
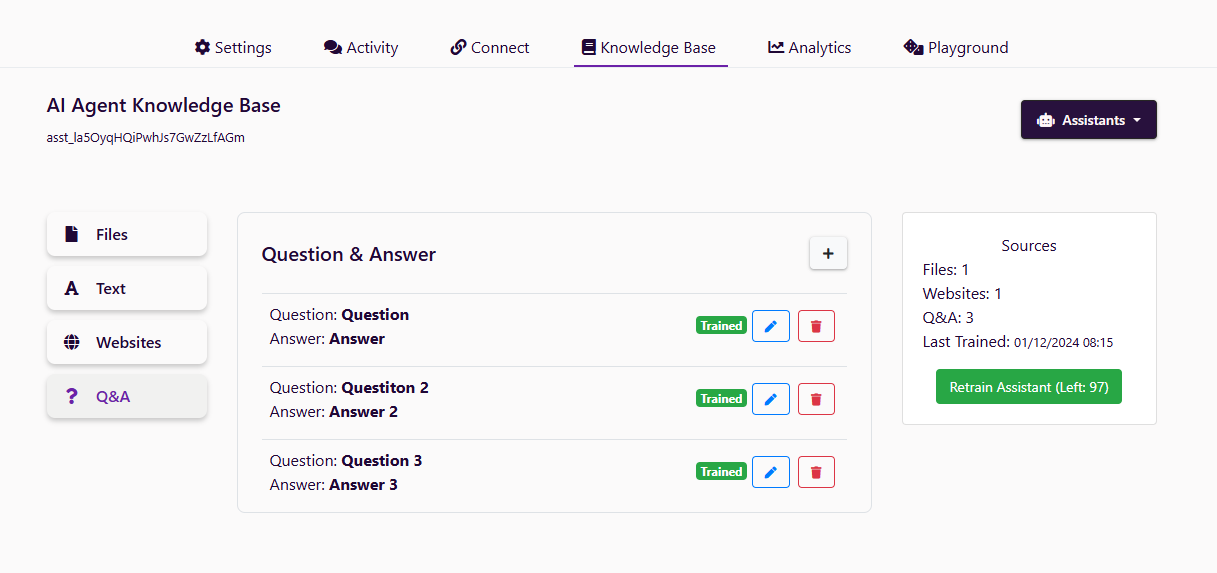
Questions and Answers
You can add examples of Questions and Answers for the assistant. The number of questions and answers you can add are based on your plan.
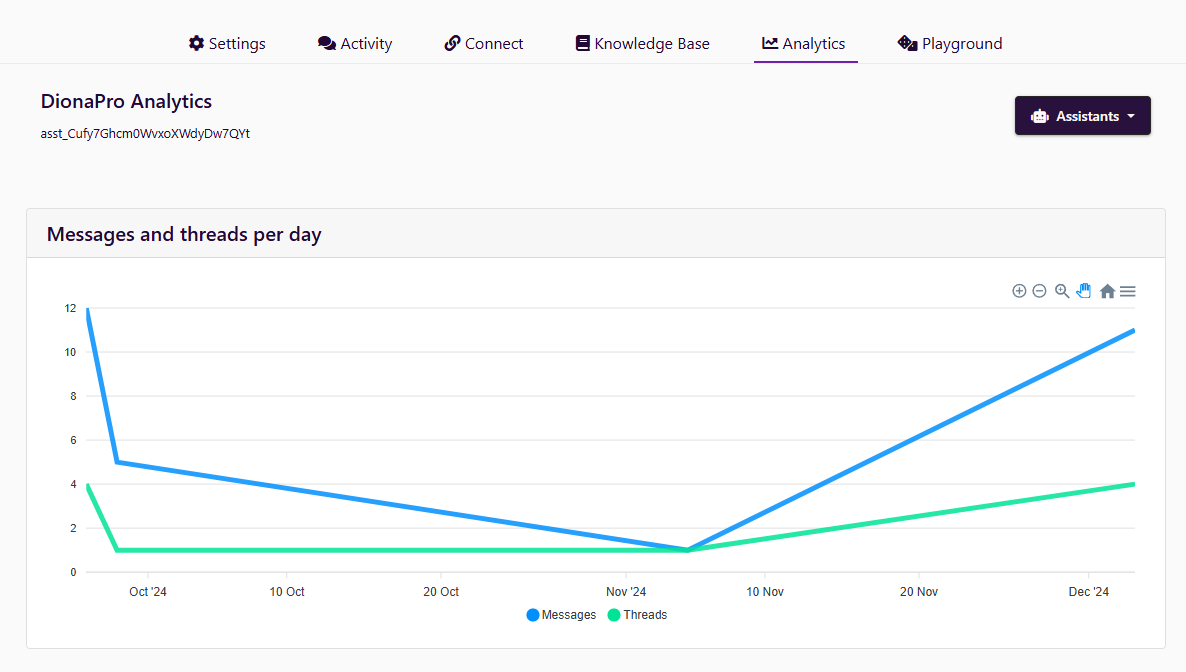
Analytics
Messages and Threads
In this section you can see the number of messages and threads that the AI Assistant has processed for the day.
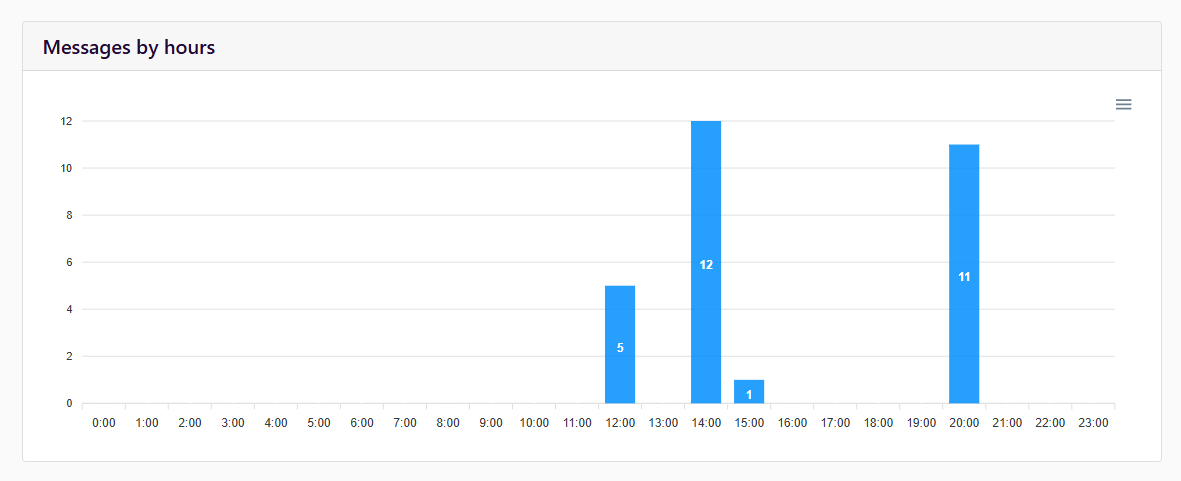
Messages by hours
In this section you can see the number of messages that the AI Assistant has processed for each hour of the day.
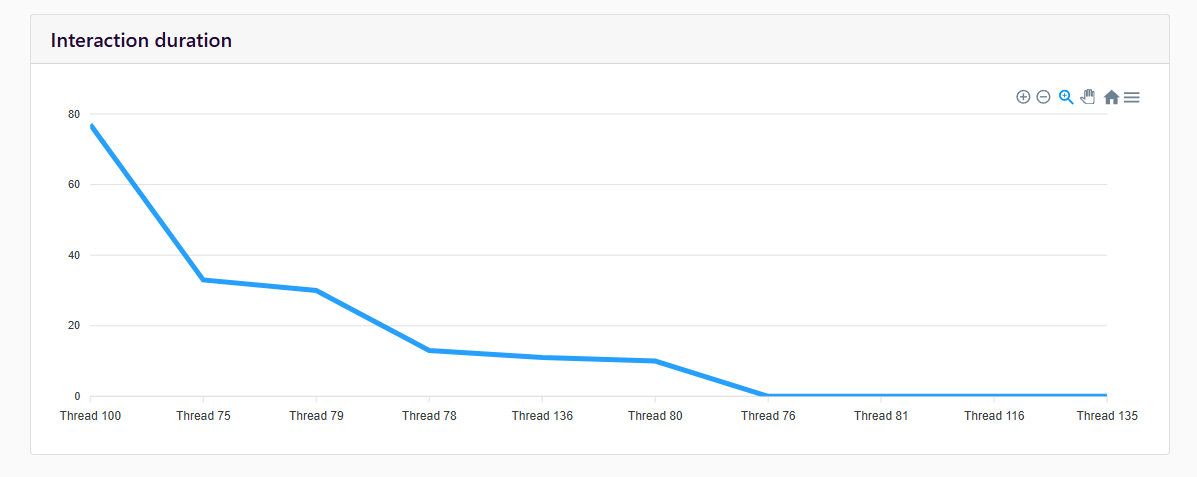
Interaction duration
In this section you can see the duration of the interactions that the AI Assistant has had with the users for each interaction.
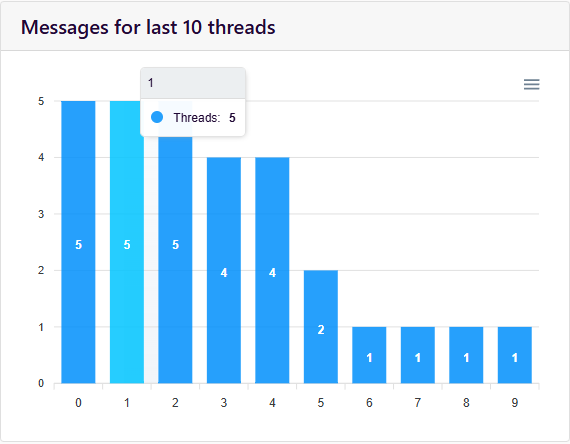
Messages for the last 10 threads
In this section you can see the number of messages that the AI Assistant has processed for each of the last 10 threads.
Countries (in development)
In this section you can see the countries from which the users have interacted with the AI Assistant.
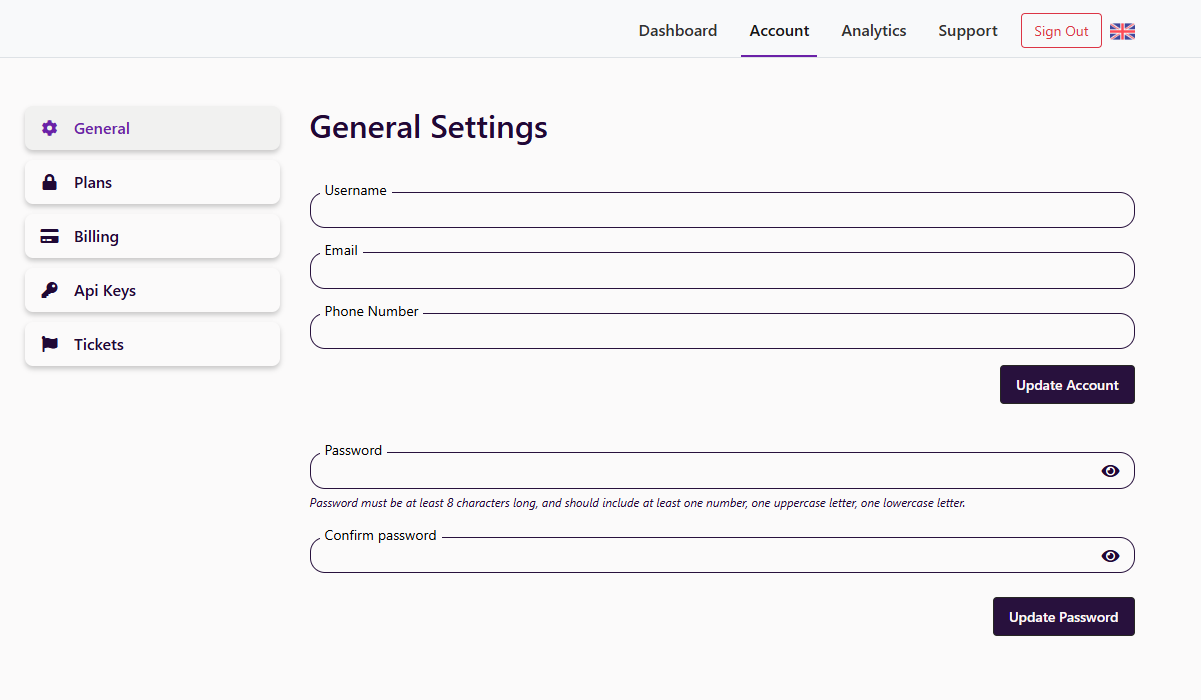
Settings
Here you can update your account information, change your password, and manage your email preferences (in development).
Billing
In the subscription details section, we have information about your current plan, from there you can Cancel Subscription, Update or Downgrade your current plan.
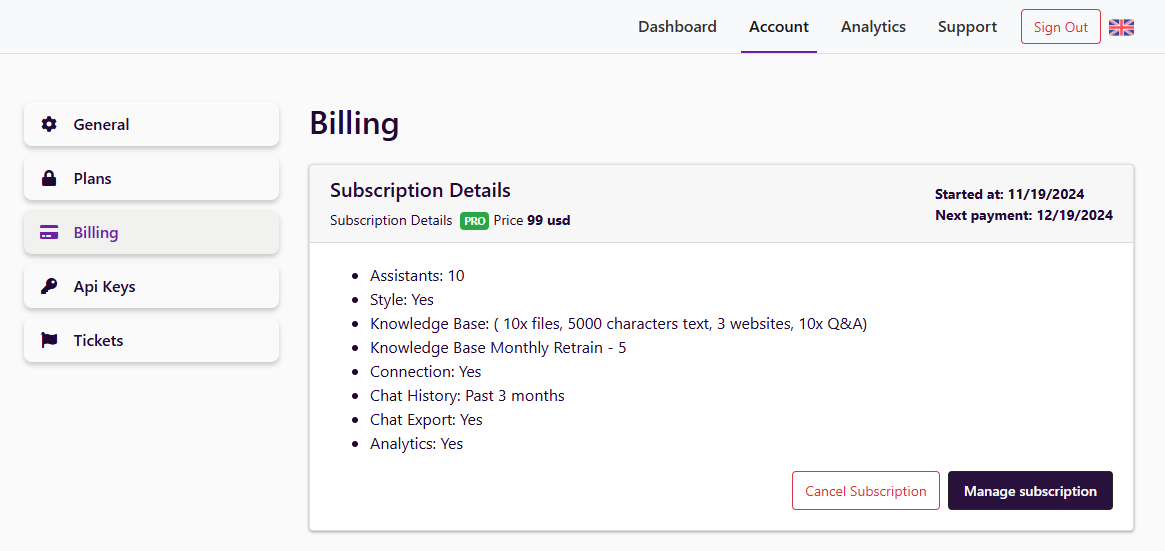
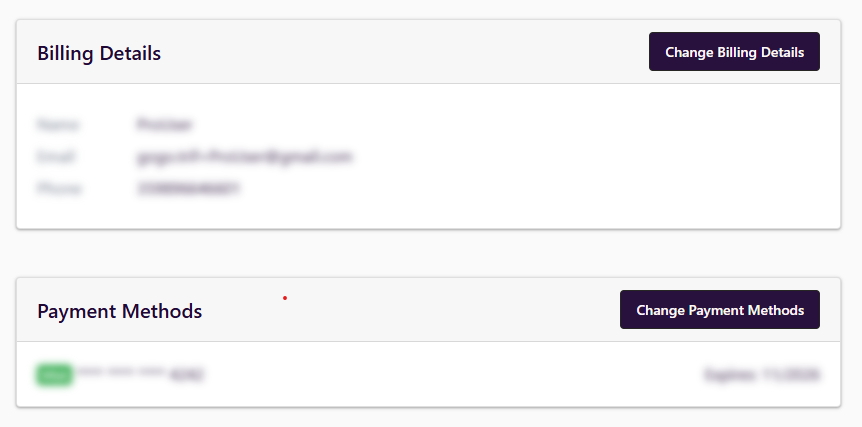
Bellow you can see your Billing Details and Payment Methods from where you can update them.
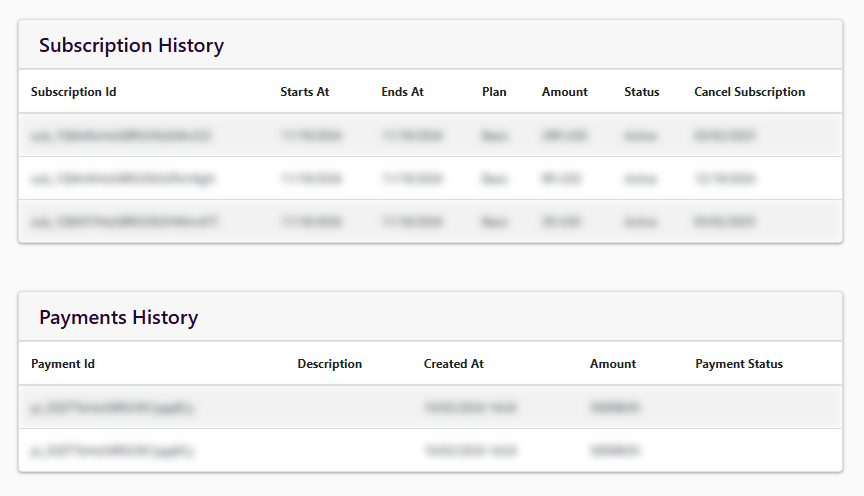
In the Subscription History section and Payments History section, you can see data for past payments and subscriptions.
Tickets
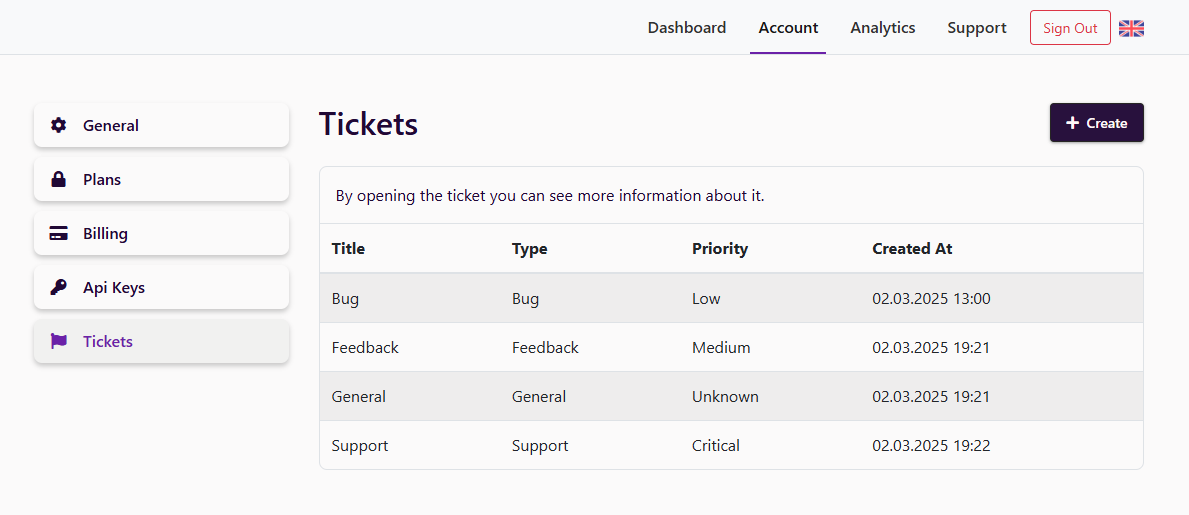
Create a new ticket
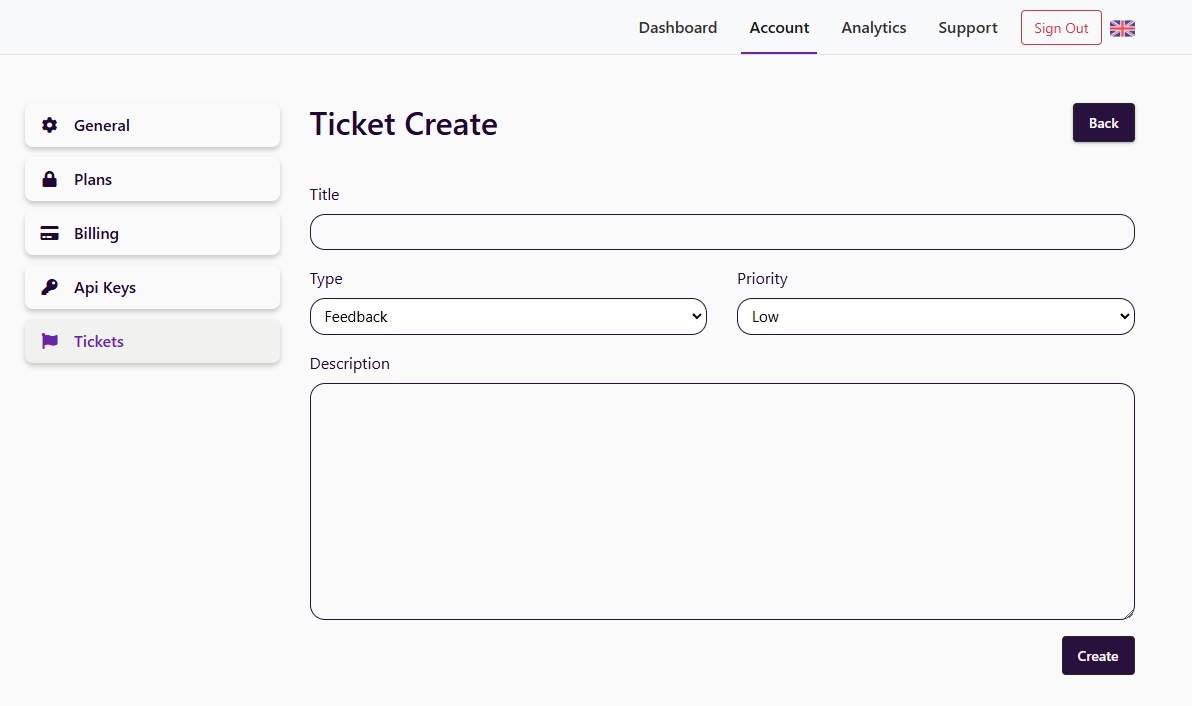
After clicking the 'Create' button you will be redirected to the 'Create Ticket' page where you can fill in the form with the necessary information. The form has Title, Type, Priority and Description fields.
You can choose the Type (Feedback, Bug, Feature Request, General, Support) and the Priority (Low, Medium, High, Critical, Unknown).
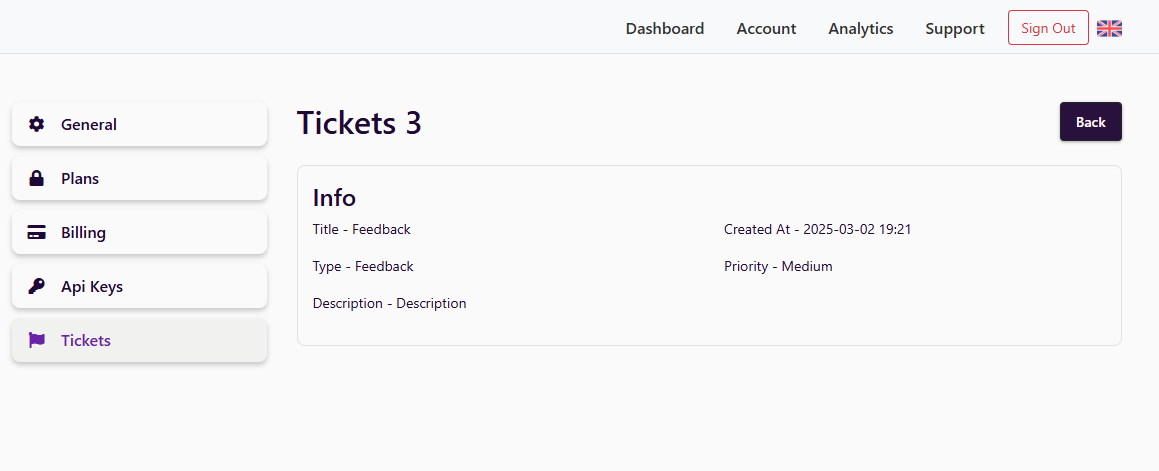
View a ticket
By clicking on a ticket from the list you can check the details of the ticket. (In development). There you can check comments on the topic, add a new comment, close the ticket or delete it.
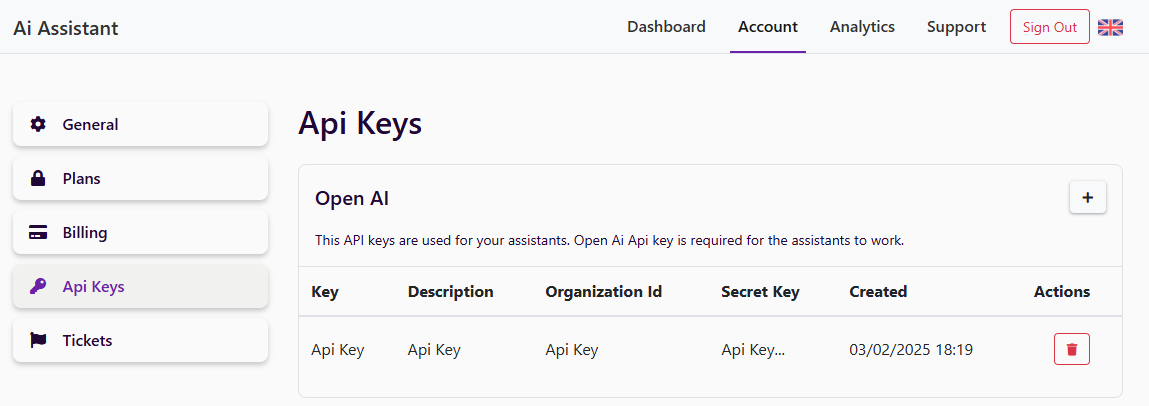
Open Ai
For the assistants to work you have to add the OpenAI API key in the settings. You can get the API key from the OpenAI website
here.
You can add the API key in your Account settings tab 'Api Keys', from there you can later delete the key.
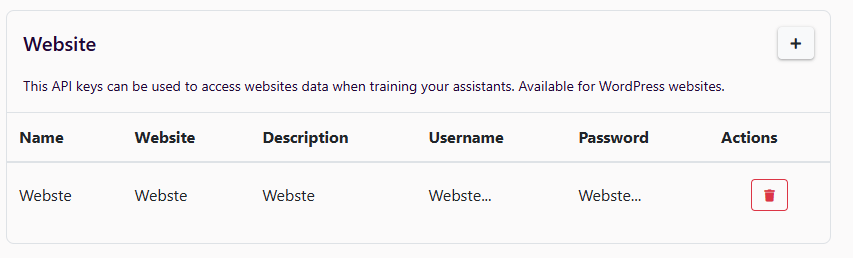
Website
The website API key is used to train AI Assistants on your website. When adding website in Assistant knowledge base it will require API Key to connect and scrape data from the website.